Install a private OpenVPN server in your home network using a Raspberry Pi

My name is Hugo Alves and I am a Software Developer from Lisbon.
I have been professionally writing code since 2013. I work mainly with Java backend applications, typically using Spring Boot with the traditional Servlet Stack, Kafka, Docker, REST APIs and so on. I also like to code in Python, and more recently GO. Apart from the coding part I’m also very interested by networking and security.
The objective of this blog is to document some side projects I’m doing and everything I may think it can be useful or interesting.
In this tutorial, you will learn how to install the OpenVPN server on your home network using only a Raspberry Pi. After completing this guide you will have a fully functional VPN Server in your home. Using the VPN will protect your internet traffic when you are connected to public or nontrusted WiFi networks. While using the VPN your traffic is encrypted and sent directly to your home network, then it will be routed to the destination by your ISP.
Another advantage is that you can securely access your home network while you are away. For example, you can watch your movies stored in a local NAS, control smart lights, check the security cameras etc... All of these without exposing these services ports over the Internet!
Additionally, we will utilize a local Pi-Hole as the DNS server. By employing Pi-Hole as your DNS server, you can conserve bandwidth by removing advertisements and blocking undesired malware and tracking scripts. Refer to this guide to learn how to install Pi-Hole on a Raspberry Pi.
This is not a method to hide your data from your ISP. If you want to achieve this you'll need to install the OpenVPN server outside your home network or buy a VPN service. If you are worried that your ISP is spying on you, then this guide is not for you. The objective of this setup is to protect your internet traffic from non-trusted networks, like the WiFi that Hotels provide to their customers.
Objectives for this tutorial:
Install OpenVPN server on Raspberry PI.
Use PiHole as your DNS server.
Make OpenVpn accessible from outside the home network, i.e., from the Internet.
Connect to VPN using the OpenVPN client from an IOS device and Windows 10.
Requirements
Raspberry Pi
In this tutorial I used a Raspberry Pi 1B, it should be enough to run OpenVPN for a single user. But don't expect very high throughputs. With my home connection 200/100 Mbps I could only get 10 Mbps while connected to the VPN.A static IP or a DDNS
If your ISP doesn't provide you a static IP address you will need a DDNS. A DDNS is just a method of automatically updating a name server. For example, the domain "demo-pivpn.duckdns.org" will resolve to my public IP address. But because my public address changes frequently I rely on duckDns service to keep this DNS record constantly updated with my public address.
If you want a free solution you can use Duck DNS. Check the other tutorial on this site about how you can configure DuckDNS on a Raspberry.Port forward configured for the OpenVPN server
The Raspberry has a private IP address inside your home network. This address is not exposed on the internet. To make the OpenVPN port available on the Internet you will have to configure a port forward rule on your router. You will have to forward the traffic that reaches your public IP (on port 1194) to the private IP of the Raspberry, also for port 1194. This guide will not explain how to configure this, each router/ISP has its way of achieving this. For more info, you can check this page.Open Vpn client
You must install the OpenVPN client on your client device (IOS, Android, windows etc...)
Install OpenVPN server
To make our task easier we will use PiVPN. PiVPN is a script that provides an easy way to install and configure an OpenVPN server on Raspberry Pi.
Let's connect to Raspberry with SSH and begin the installation with the following commands:
curl -L https://install.pivpn.io > pivpn_install.sh chmod +x pivpn_install.sh ./pivpn_install.sh
The first thing that PiVPN does is to update the system. After that, it downloads OpenVPN Server and launches a wizard to configure the OpenVPN server.
Now you just need to follow the installation wizard to complete the installation.
The following figures explain each step of the wizard:
Informs that the PiVPN installer will install the OpenVPN server

To work correctly OpenVPN server needs a static IP address. You have to ensure that the Raspberry Pi is configured with a static IP address. Or that your DHCP server always announces the same IP address for the Raspberry.
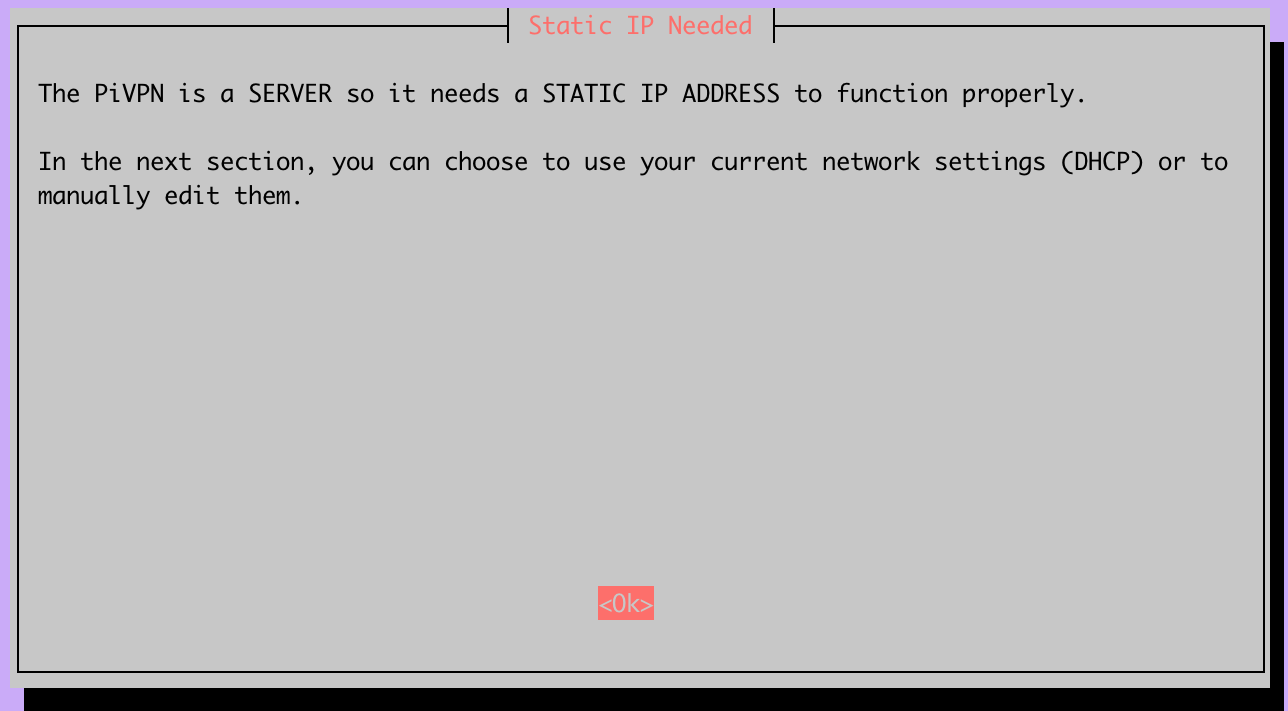
Check if the IP address and gateway are correct. If not, cancel the installation and configure the Raspberry with the correct IP address.

Another warning about the importance of having a static IP address. If your network has a DHCP server, ensure that it always gives the same IP address to the raspberry.

Choose a local user to store the OpenVPN configurations.
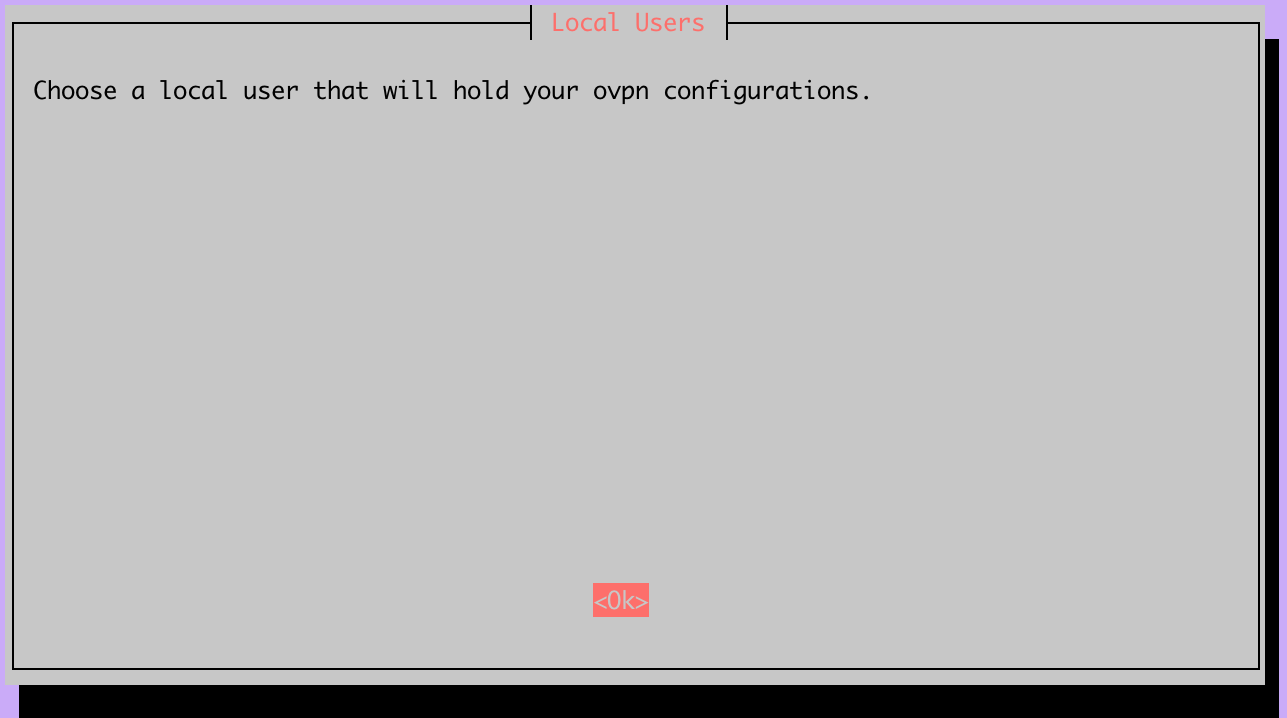
I will use the default user "pi".

This is an important warning about keeping your raspberry updated. Since you will have your raspberry exposed to the Internet it is very important that you keep it updated. You should enable unattended Upgrades. With this setting enabled the system will periodically check for security updates and apply them.
This feature does not eliminate the need to manually update the raspberry regularly. Some updates require a restart and because of that cannot be applied automatically.
As explained in the previous step, enable unattended Upgrades.

OpenVPN can either run over UDP or TCP, normally you should use UDP. You should only choose TCP for specific cases. For example, if the networks where you will be using the VPN block UDP traffic, in that case, you can try to run OpenVPN over TCP.

Choose the port where OpenVPN will listen. I used the default port 1194.

Confirm the settings.

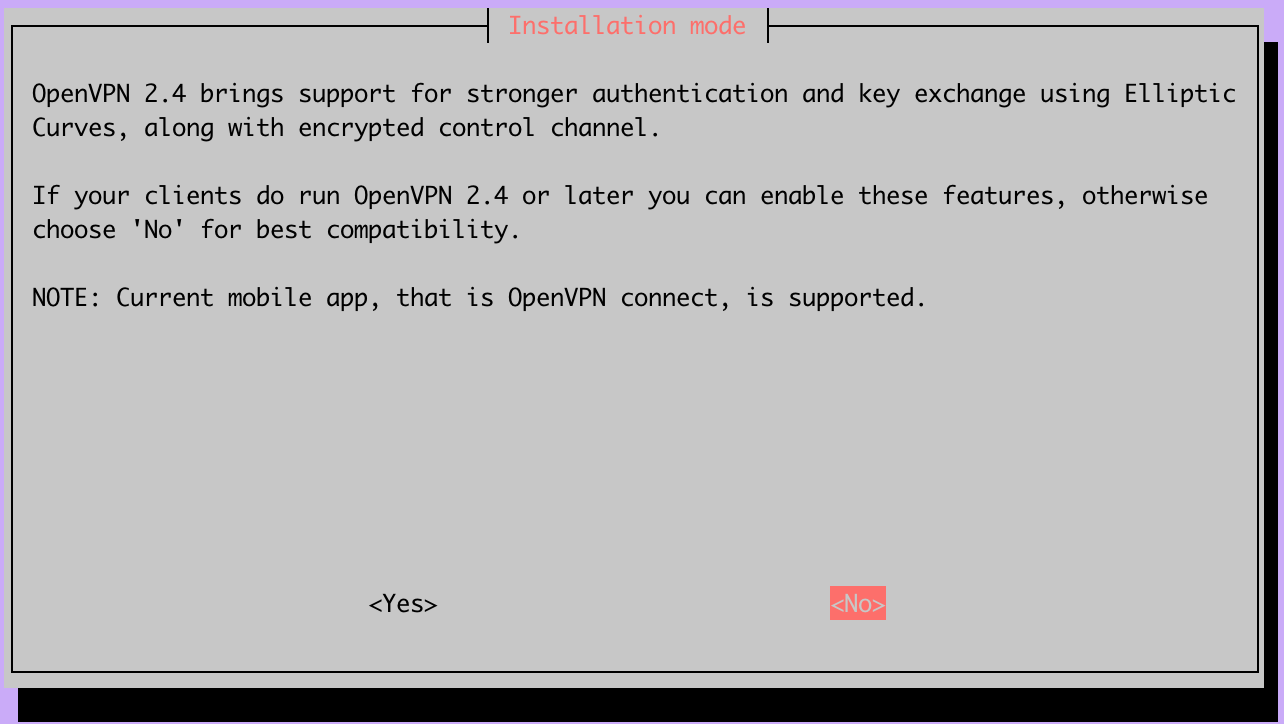
OpenVPN 2.4 has introduced some major improvements. Namely the Elliptic Curve Crypto(that is an alternative to RSA keys) and tls-crypt. Unfortunately, these two features are not yet supported on the OpenVPN client for IOS. So if you plan to use an IOS device then don't activate this feature. The remaining guide is based on having this setting disabled, there are some different steps if you choose to activate 2.4 features.
Select the size for the server RSA key, 2048 is a good balance between speed and security.

This step will generate the server RSA key pair and the Diffie-Hellman parameters. This step will take a lot of time on Raspberry Pi 1B... so be patient. To avoid aborting the process due to PC sleep or network problems you should use a terminal multiplexer like tmux.


Here you will have to choose how you will connect to the OpenVPN server. You can either use your public IP address or a domain Name. I do not recommend using the public IP address because it will probably change when your ISP renews the DHCP lease. You should configure a DDNS, you can configure one at DuckDNS, check the DuckDNS tutorial on this blog.

I've previously configured this domain at duckdns.org. This domain name will resolve to your public IP address.

Just confirm the domain you introduced.

In this step, you can configure the DNS server that will be used by your devices. We have two options here, either we use a public DNS server, like Google or Cloudflare, or we use a custom one.
We will choose the latter option. Our DNS server will be a Pi-hole running on the local network (in my case, it is also on the Raspberry Pi). For information on how to install Pi-hole, refer to this blog post.
Since we have chosen to use PiHole as the DNS server we need to fill its IP address in this step. This is the local address, it doesn't need to be a public address.

Make sure that the DNS server 1 field is the private IP address of the machine running the PiHole.

Last step! Reboot the raspberry!

Generate a client certificate
The OpenVPN server is installed and ready to accept connections. But before that, we need to generate the client certificates for each client that will use the VPN.
The client certificate is an RSA keypair that will be used to authenticate and secure the communication between your device and the OpenVPN server. You will need the client certificate to connect to the OpenVPN server. You can see this certificate as your username and password.
The client generation is very easy, you just need to run the following command:
pivpn add

To create a client you just need to follow the instructions. You have to give a username and a password to encrypt the private key.
This process will generate the /home/pi/ovpns/my-vpn-client.ovpn file:
client
dev tun
proto udp
remote demo-pivpn.duckdns.org 1194
resolv-retry infinite
nobind
persist-key
persist-tun
key-direction 1
remote-cert-tls server
tls-version-min 1.2
verify-x509-name server_66iVDlc1xRPTTOSa name
cipher AES-256-CBC
auth SHA256
auth-nocache
verb 3
<ca>
-----BEGIN CERTIFICATE-----
{A private key}
-----END CERTIFICATE-----
</ca>
<cert>
-----BEGIN CERTIFICATE-----
{The certificate}
-----END CERTIFICATE-----
</cert>
<key>
-----BEGIN ENCRYPTED PRIVATE KEY-----
{A private key}
-----END ENCRYPTED PRIVATE KEY-----
</key>
<tls-auth>
#
# 2048 bit OpenVPN static key
#
-----BEGIN OpenVPN Static key V1-----
{server key}
-----END OpenVPN Static key V1-----
</tls-auth>
You can use this file with OpenVPN client app to connect to your VPN. Now you must copy this file to the device from where you will connect to the VPN, for example, your laptop or smartphone. You can copy the file with FTP or SFTP. Or, since this file is just text, you can also copy the content of the file and paste it into a new file(my-vpn-client.ovpn) on your device.
If you have more than one device you should generate one client for each. Do not reuse the .ovpn configuration on multiple devices.
Connect to the VPN
To connect to the VPN you will need a VPN client, there are multiple alternatives. For Windows, IOS and Android you can use the Open VPN client. For MacOs you can use Tunnelblick. Despite the one you choose the only thing you will need is the .ovpn file that you generated in the previous step.
OpenVPN client for IOS
Download the OpenVPN client from the app store: https://itunes.apple.com/pt/app/openvpn-connect/id590379981?mt=8
Copy the .ovpn file previously generated to iCloud/Dropbox/Drive etc...
Navigate to the file and open it with the OpenVPN client
Enter the password chosen during the client creation step
And click Connect, you are now connected!
While connected to the VPN you can see a "VPN" symbol on the top left corner, right next to the WiFi symbol.

OpenVPN client for Windows
Download the OpenVPN client from https://openvpn.net/community-downloads/
Copy the .ovpn file previously generated to the machine
Right-click on the OpenVPN client icon in the notification area (near the clock). And then "Import File"
Select the .ovpn file
Go to the icon on the notification bar and right-click it. Then click "Connect"
Enter the password chosen during the client creation step
And click ok, you are now connected!

Results
As said before you will not get the full throughput that you normally get in your home. Your speed will be limited by multiple factors:
Your home network Upload speed
Raspberry Pi processing capacity
Visited network speed
In this case my home network is 200/100 Mbps and I tested the VPN from a WiFi network that also provides around 200/100 Mbps.
With this setup I could get around 10/10 Mbps running from the Raspberry Pi 1B, this is one of the oldest Raspberry's, with a 700 MHz cpu and 512 MB of ram.
Running the same test with a Raspberry Pi 3B+ I got no noticeable improvements in the speed test

The 10/10 Mbps provided by Raspberry Pi 1B is enough for my daily browsing outside home. It was also enough to stream some series from my NAS transcoded to an iPhone screen. And the biggest advantage is the power consumption of the Raspberry Pi 1B, consuming as low as 0.4W.
In conclusion, setting up a private OpenVPN server using a Raspberry Pi in your home network offers secure remote access and protection while connected to public or non-trusted networks. Additionally, using PiHole as a DNS server helps conserve bandwidth by blocking ads and tracking scripts, enhancing your overall browsing experience.